Now... let's start to edit our future virtual machine as you can see on the figure because we want to install our CentOS iso image from CDROM
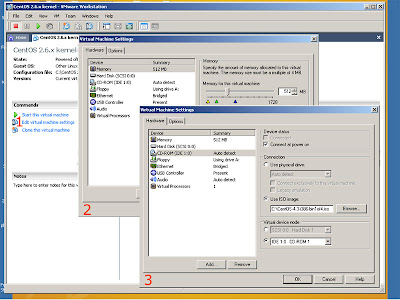
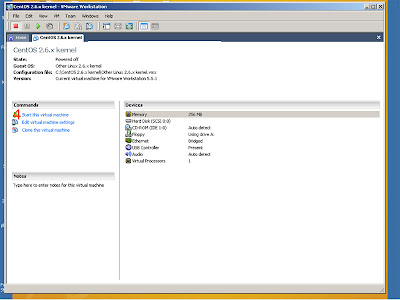
Then start the virtual machine
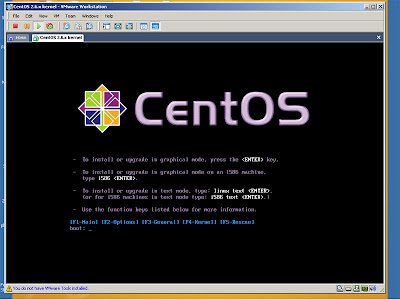
On the boot screen, simply press ENTER button:
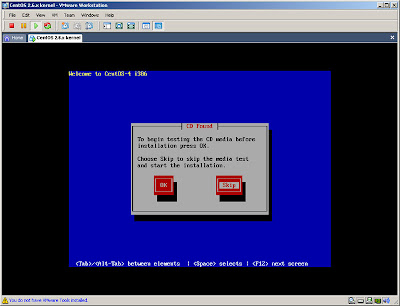
On the next screen select the SKIP button to skip iso media test
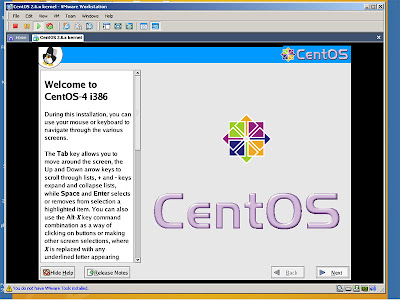
On the Welcome screen press NEXT button
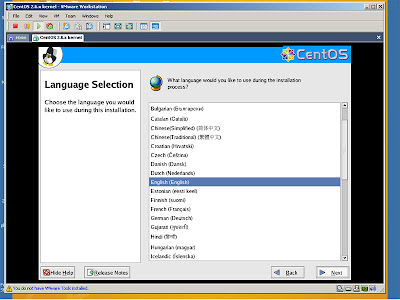
Then select your preferred language...
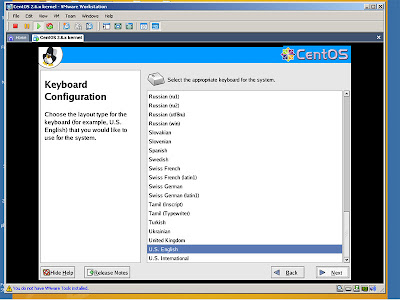
...and your keyboard configuration
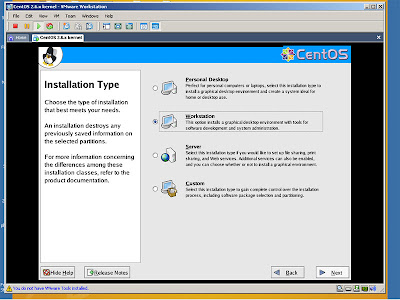
Choose Workstation as Installation Type
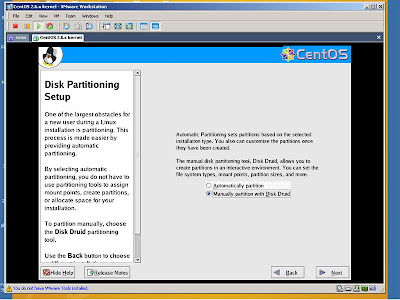
Choose Manually partition
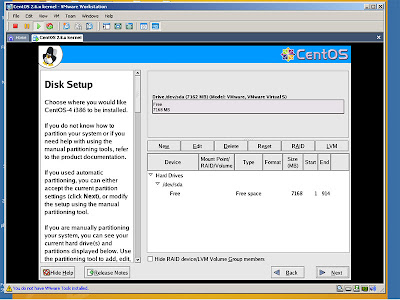
On the Disk Setup screen press NEW button. We will add simply two partitions (/swap and root "/"), even if on a linux installation you should configure more than two (/tmp, /var, /usr, /opt and so on), but for our tests we can continue with the following configuration.
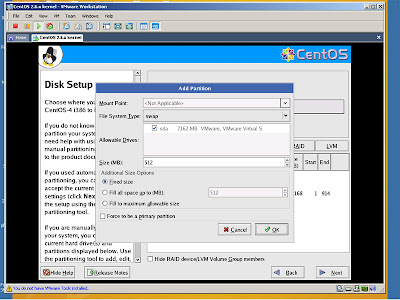
Add 512MB for the swap partition...
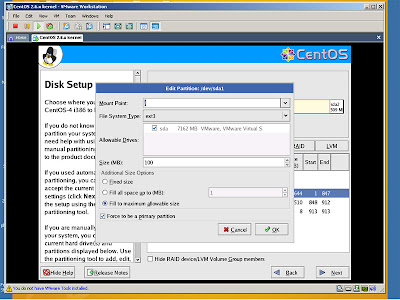
... and fill to maximum allowable size for the root partition. Then click NEXT button
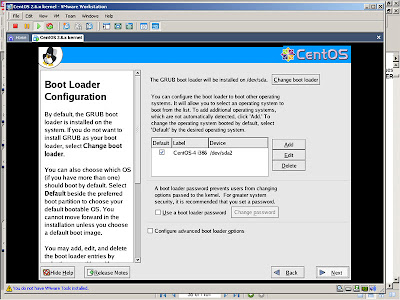
On the Boot Loader Configuration click NEXT button
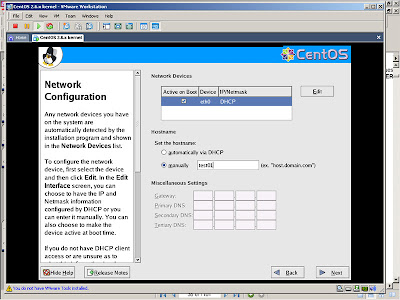
On my network I'm using a dhcp. If you would like to have a fixed ip number just click EDIT button and configure it.
I've called this test machine as TEST01. Anyway after complete the installation you can change your network setting when you want and easily. When done click NEXT button
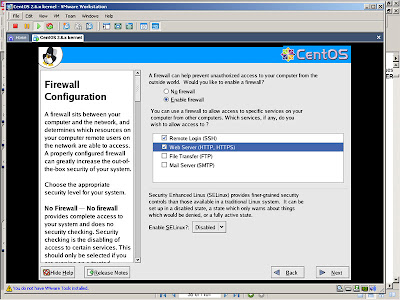
Enable the firewall and let some services (SSH, HTTP/S) able to connect your machine. Disable SELinux and then press NEXT button.
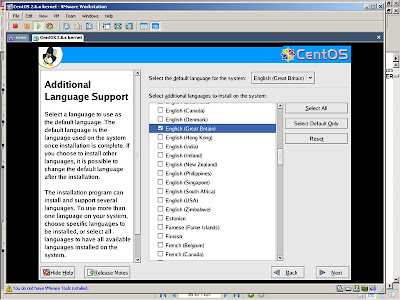
Select your preferred Language Support.
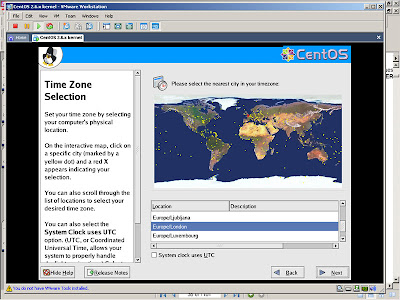
Choose your time zone.
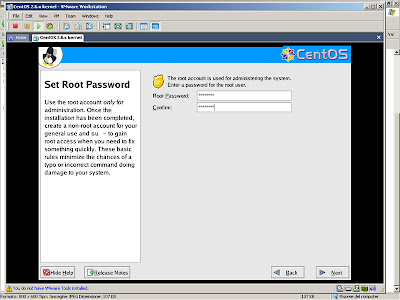
Set your root password. This password if useful when you connect to test01 machine when no other users are available. DON'T FORGET root password!!!
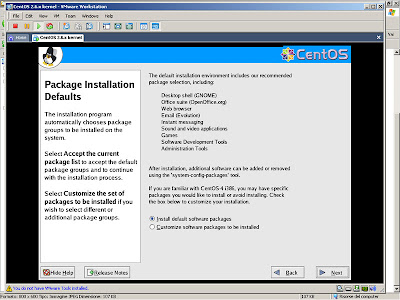
Click NEXT button
Click NEXT button
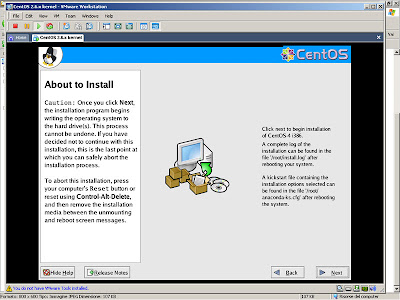
Click CONTINUE
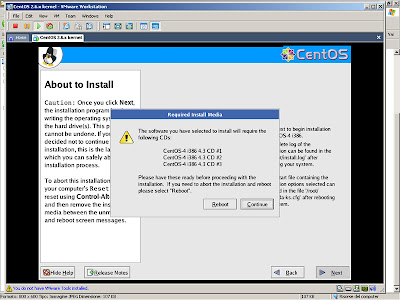
The installation process begin...
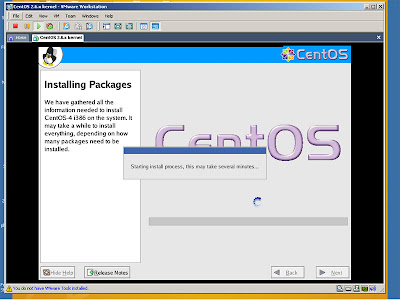
When prompted, edit your CDROM configuration, browse for the requested iso image and then click OK.
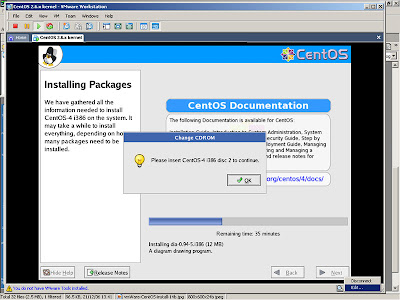
When prompted, edit your CDROM configuration, browse for the requested iso image and then click OK.
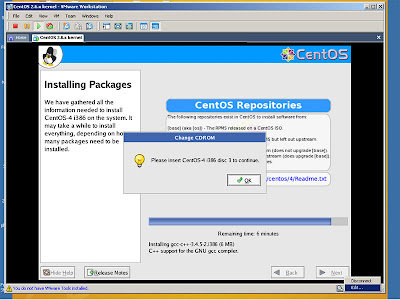
When prompted, edit your CDROM configuration to not use any iso image and then click REBOOT.
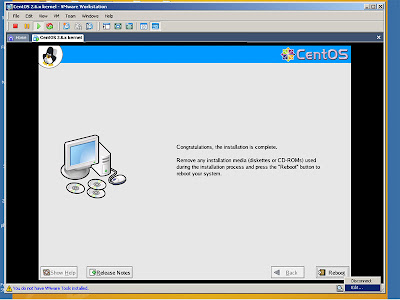
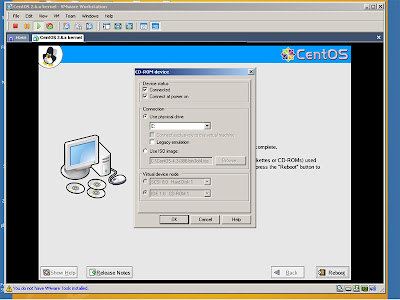
That's all. After rebooting you can turn off test01 machine from vmWare console or start test01 machine and login with userid:
root
and password:
that_one_you_have_specified_during_installation_process
Next time we will configure the environment to be able to setup Oracle Database 10g.
See you.. NEXT YEAR :)
Merry XMas and happy neaw year.
Click here for the next step
No comments:
Post a Comment